If you are a content creator, you know how important it is to keep track of all your different media assets. Having a good system in place makes it easier for you to find and use the right content for the job, whenever you need it.
And if you’re looking for a DAM (Digital Asset Management) system that is loved by many content creators around the world, look no further. Here is one of the most intuitive and user-friendly piece of software you have ever seen: Eagle.
If you’re more of a video person and nerdy like me, the following video should give you a pretty good overview. Everyone else can just keep on reading.
What is Eagle?
If you’re not familiar with the Eagle App, it’s an intuitive tool that allows you to create and manage your own media library.
With Eagle, you can collect, organize, browse and search all sorts of different files. It comes with an integrated tool to capture screenshots, which is really helpful as you can add circles, rectangles, arrows, text and a lot more. There is also an optional feature packed browser extension, that you can use to capture images directly into your Eagle library.
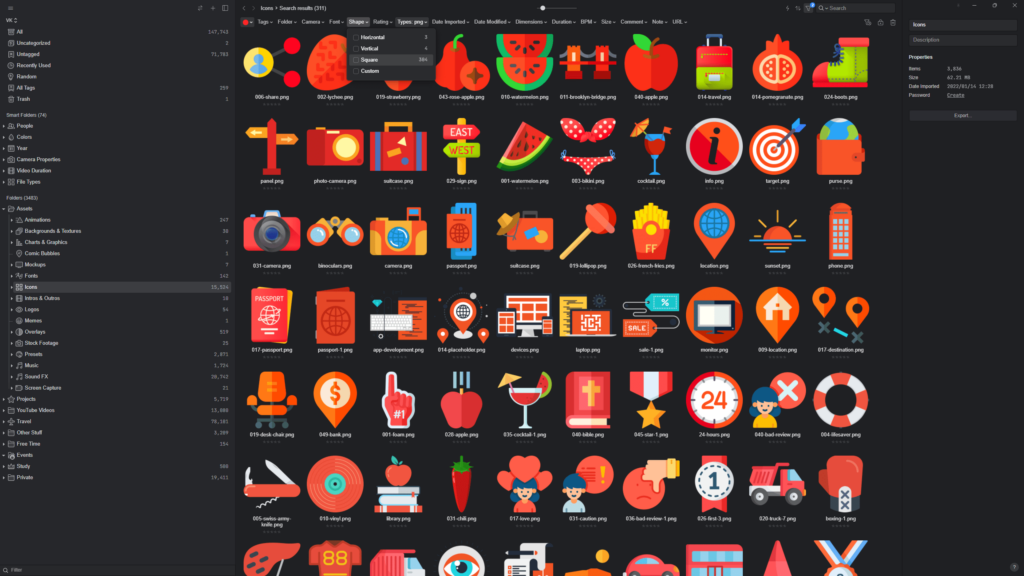
The application allows you to keep track of all your different assets and documents, and helps you stay organized and efficient in your work as a content creator, artist, designer, freelancer, etc.
Searching files is extremely fast thanks to metadata, that Eagle creates for every single file automatically. On top of that, you can add ratings, tags, comments and notes to all types of files to quickly filter through them.
Who is the Eagle App for?
The app is great for all types of creatives that need an organized system for their different files and media assets.
Are you working on design projects with a team and need to quickly share comments or improvement suggestions? Just use a shared Eagle library with your team and everyone is always up to date.
Looking for inspiration? Eagle works great as a mood board, too! You can quickly add reference images to your library with the optional browser extension or built in capture tool.
If you like to organize all of your family and holiday photos, simply put tags on them and you’ll never have trouble finding images of yourself or other people ever again.
There are so many things you can do with the app. Therefore, I’d say that Eagle is for everyone as anyone can benefit from what it has to offer.
Why use Eagle?
With Eagle, you can easily organize and manage all of your digital assets, add metadata and tags, share assets with team members, and a lot more.
Plus, Eagle comes with support for a variety of different file types, making it the perfect fit for any content creator’s workflow.
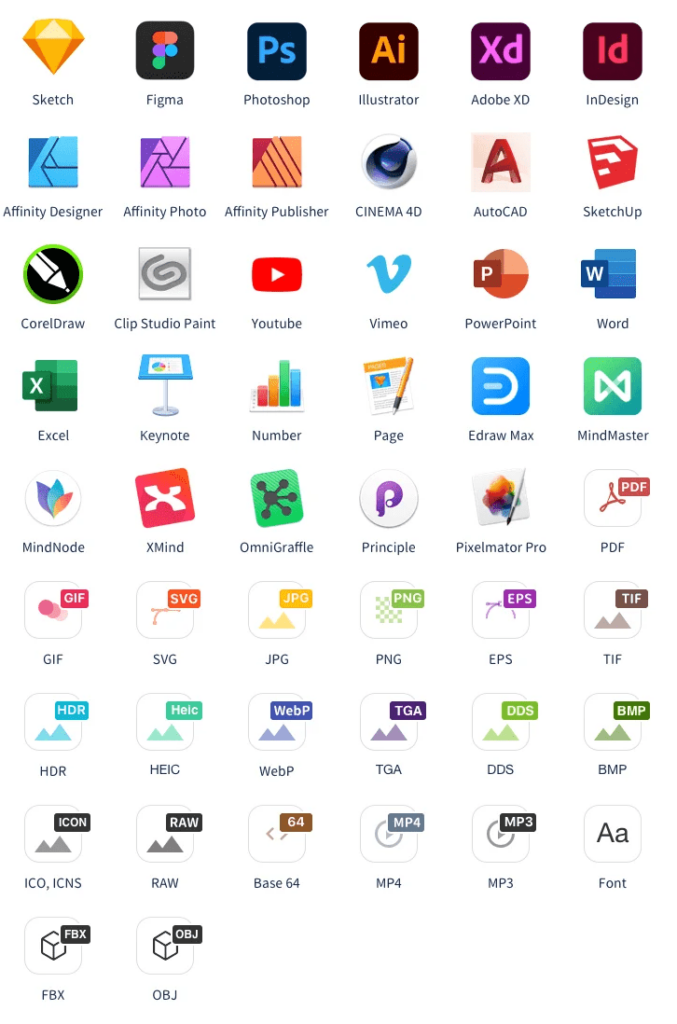
Eagle is an offline application with no monthly subscription cost, which means that you control all of your data and only have to pay for the software once. Oh, and don’t worry about the price, it’s just $29.95 for two devices and it comes with free updates. Educational discounts (30% off) are available. And did I mention there was a 30-day-free trial?
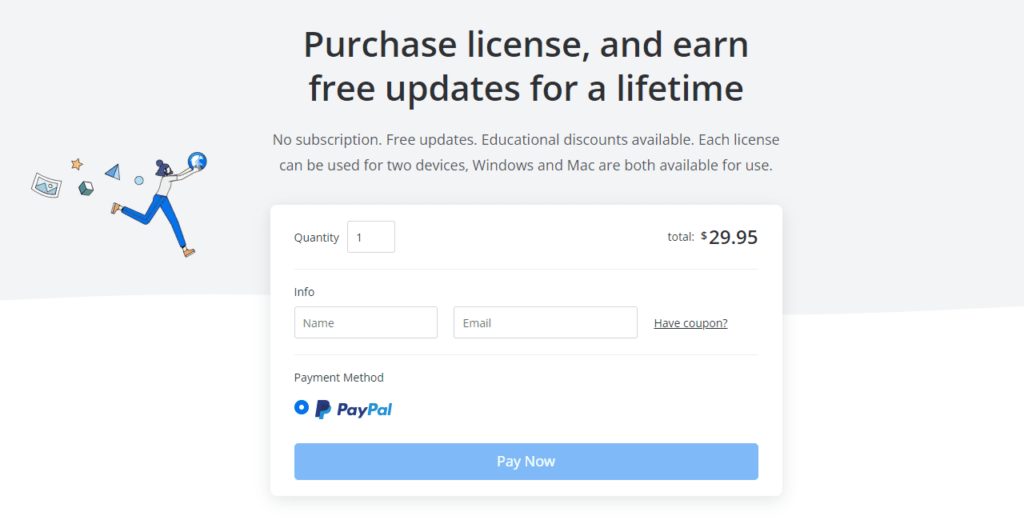
This is fundamentally different from most other DAM software out there, which will usually charge you with a monthly subscription cost and limit you in terms of storage capacity.
Using Eagle in a collaborative environment is a breeze. Just upload your library into any cloud storage of choice and make it accessible to your team.
Let’s summarize why content creators love Eagle:
1. It’s easy to use and has a very intuitive user interface
2. It’s great for collaboration and can be synced with a cloud
3. It has a wide range of awesome features and new ones are added constantly
4. There is no subscription cost, you only pay once and can enjoy free updates forever
5. You control all of your data & can encrypt your library before sending it to a cloud using Cryptomator for example
What Features does the Eagle App offer?
Eagle App User Interface Overview
The Eagle App is split into three simple sections, the viewing area in the middle, the sidebar on the left and the inspector on the right. If you want to fully concentrate on the viewer, you can always press TAB to close both the sidebar and the inspector.
Sidebar (Left)
The sidebar on the left is basically your navigator. This is where you can view all your files, uncategorized or untagged ones, recently used files as well as random files and files that were deleted. The navigator will also show you all of your regular and smart folders as well
Viewer (Middle)
The viewer in the middle shows all of your files. If you select specific folders on the sidebar, the view will change accordingly here.
You can display your files and media assets in 4 different ways here.
- Waterfall (ALT + 1)
- Justified (ALT + 2)
- Grid (ALT + 3)
- List (ALT + 4)
Inspector (Right)
The inspector gives you more information on the currently selected file or folder. Here you can add your tags and notes and view all the other properties.
Theme Colors
If you don’t like the standard dark mode that the Eagle App comes with, you can choose another color theme in the preferences.
Organizing & Managing Digital Assets
Eagle is a great tool for content creators because it helps them easily organize and manage their digital assets in one place. Since the app supports a variety of different file types, you don’t have to use any additional photo viewer or video player. You can view most files directly inside of Eagle, which is really helpful.
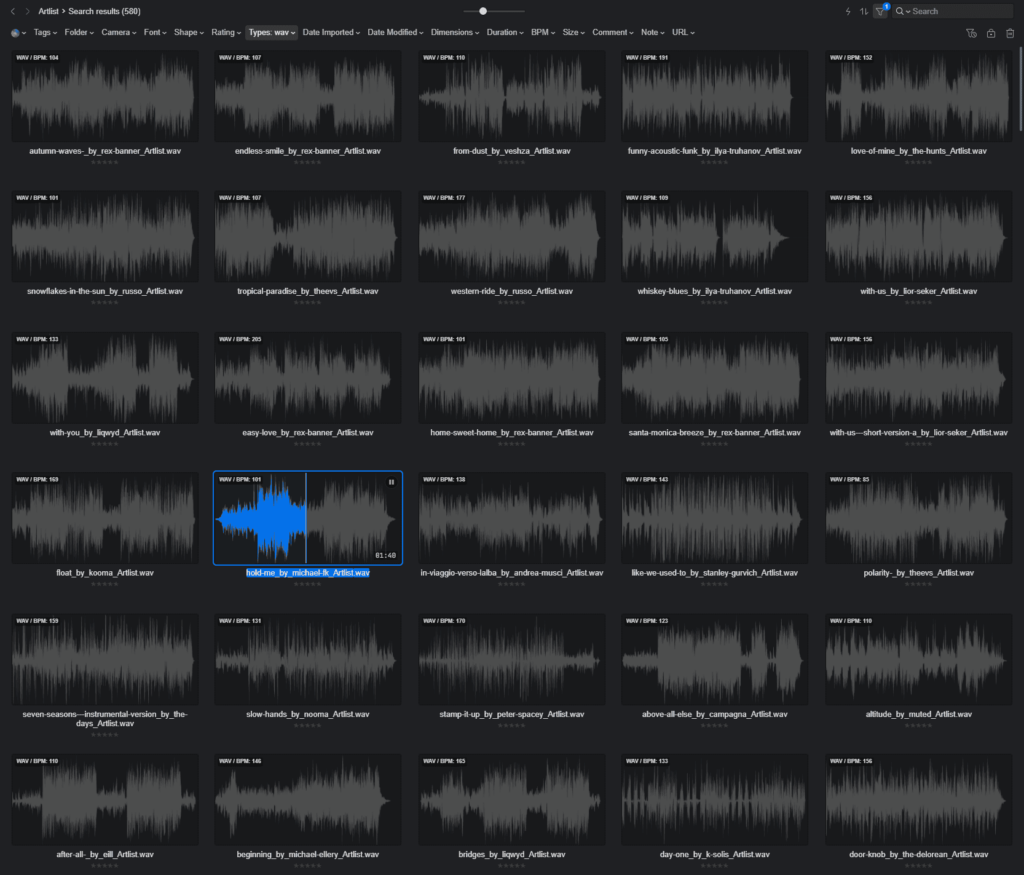
Besides the integrated video / music player & photo viewer, you can always hover your mouse over any media asset to preview it. This is not only helpful for images, GIFs and videos, but also for music and sound effects, which Eagle automatically creates waveforms for.
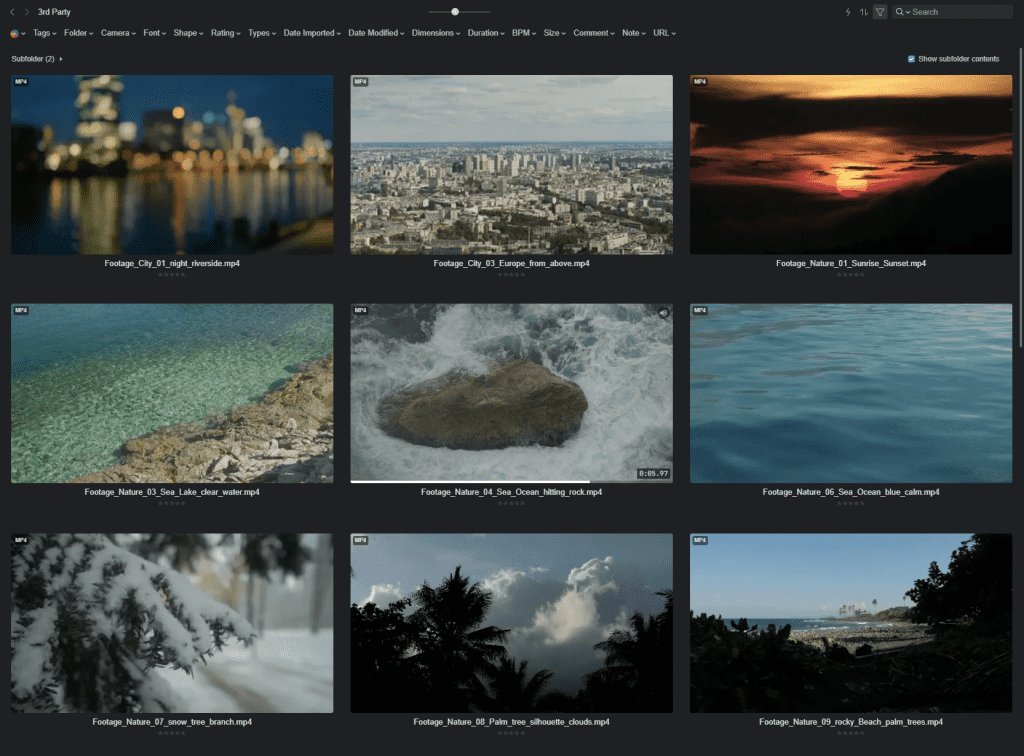
Seeing visually what is happening inside of a music track or sound effect is an absolute game changer and huge timesaver as you can quickly skip the boring parts and find the right audio a lot easier.
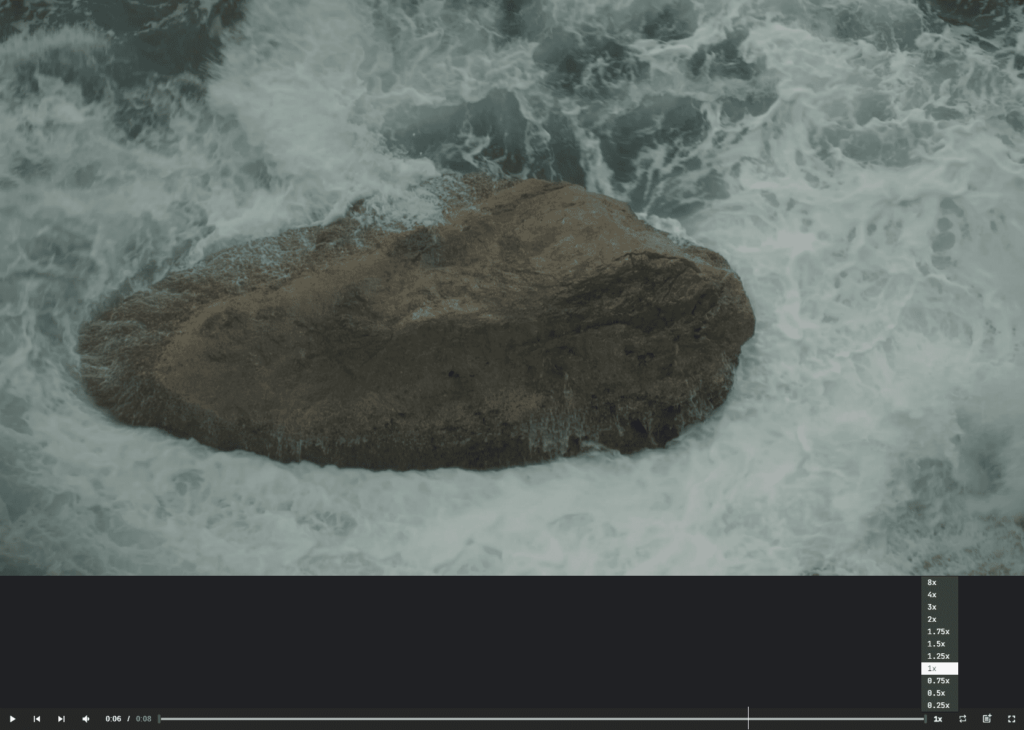
You can also change the thumbnail of any video to a frame that better represents what is happening in the clip. The video player also comes with some neat features like slower or faster playback speed and a function to export single frames.
When it comes to images and photos, there are some handy tools you can use such as crop, horizontal flip or rotate. You can also combine several images into one directly inside of the app, which can be quite useful.
Exporting images in different formats and resolution no longer requires you to open any additional software to do so. You can export in JPG, PNG, BMP or even WebP, choose a quality and quickly compress images directly inside of Eagle.
And if you’re searching for more inspiration or similar looking images outside of your Eagle library, you can use Google’s reverse image search, which will automatically upload the image for you and give you results in just seconds.
If you like to work with greyscale images from time to time, you might find colors to be too distracting. To get a better idea of the actual contrast, you can use the built in greyscale mode.
If you’re someone who likes to keep a local collection of all your fonts, you’ll love to hear that you can preview all your types directly inside of Eagle. You can view your fonts on different backgrounds, change the size and even input custom data to see how it looks. Some fonts don’t support specific characters, which you can easily find out with Eagle. To top it all off, you can easily install or uninstall fonts directly inside of the app.
Metadata & Tags
If you’re having trouble finding specific pieces of content and you are someone who often reuses media assets, you will love to hear that Eagle adds metadata to your files, which makes it a lot easier to find your desired assets quickly.
Here’s a list of metadata that Eagle captures automatically as soon as you import a new file and that you can use as a filter:
- Color (RGB, HSL, HEX & Accuracy)
- File Type
- Image (.jpg, .png, .gif)
- Video (.mp4, .mov, .mkv, .avi)
- Audio (.mp3, .wav)
- Shape (Horizontal, Vertical, Portrait, Landscape, Square, Panorama Horizontal, Panorama Vertical, 16:9, 4:3, 3:2, Custom)
- Dimensions (Width, Height)
- Duration (Seconds, Minutes, Hours)
- Size (KB, MB)
- Camera
- Font
- Date Imported
- Date Modified
On top of that, you can add additional metadata to any of the files you import into Eagle:
- Tags
- Ratings (1 to 5 Stars)
- Comments
- Notes
- URLs (added automatically, if you download files using the browser extension)
If you want, you can always add your own tags and categorize them in groups to organize your footage. This is extremely helpful as you can tag anything you want.
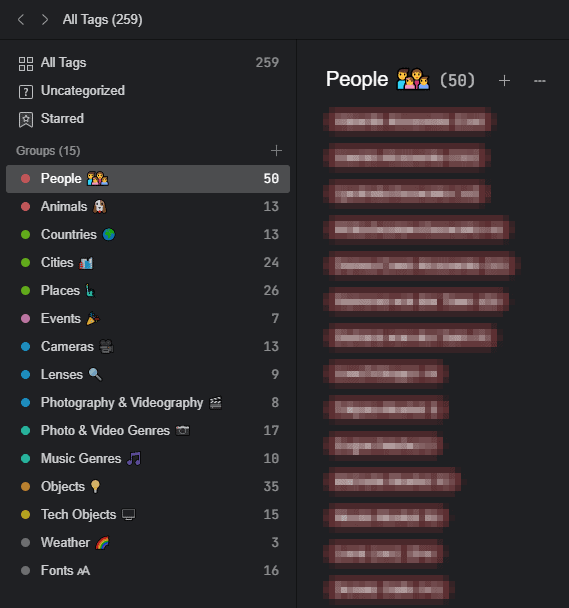
Here’s some inspiration for you:
1. People & Animals (Names or Species) 👨👩👧👦 🐶
2. Locations & Places (Country, Cities, Sights) 🌍 🏙️ 🗽
3. Events (Birthday, Holidays, Wedding, …) 🎉
4. Cameras & Lenses (that were used) 🎥 🔍
5. Objects (that are visible in the frame) 💡
6. Photo Genre (Portrait, Landscape, Architecture, Drone, …) 📷
7. Video Genre (Handheld, Slider, Gimbal, …) 🎥
8. Music Genre (Ambient, Cinematic, Electronic, …) 🎵
You can also add emojis to tag names, which helps you visualize them easier. Feel free to copy the ones from above if you want!
🔥 Bonus Tip: There’s a hidden shortcut inside of Windows & MacOS, that allows you to quickly search for emojis.
Just press WIN + . (Period) on Windows or CTRL + CMD + SPACE on MacOS and start typing to search for the right emoji. This should help!
Sharing Assets with Team Members
If you’re working on one Eagle library with your team by using a cloud for example, sharing assets is a breeze. Every single tag, comment or note you add is visible for your colleagues. If you’re on a slow internet connection, it might take a moment before changes become visible though for everyone, which is why I’d recommend to use a local network with a wired connection for the best performance whenever possible!
I am using my own computer instead of a NAS to host the Eagle library for my other team members inside of our local network. We use a wired 10 Gigabit per second connection, which gives us outstanding performance inside of Eagle. One downside to this is that my computer needs to be running when my team members need access. This is still better than a NAS though in my opinion as it doesn’t need to run all the time and I can save some energy like that and don’t have to invest in a separate system.
How the Eagle App Increased my Productivity
I have a huge library of over 100.000 individual media assets, which includes icons, photos, videos, music, sound effects an more.
I keep my library well-organized with tags so I can easily find the assets I need for my projects without the need to dive into any specific folders. I do still have a separate folder for each type of asset, and subfolders for each category. For example, my icon folder has subfolders for different categories like social media icons, app icons, website icons, etc. This allows me to either search by folders or simply search through all files using tags or other metadata.
Eagle App Duplicate Finder
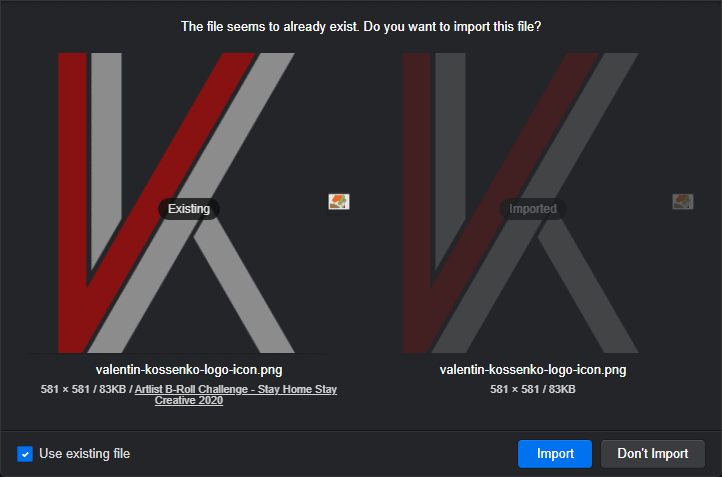
I’m constantly adding new assets to my library, and it can sometimes happen that a file I’m trying to import, already exists inside of my Eagle library. Eagle’s duplicate finder allows you to create soft links, which don’t take up any extra storage space. Instead, Eagle adds information to the original file’s metadata that it is now sitting inside of two different folders. This is a great way to keep your library organized and efficient.
Searching Files is Easy with the Eagle App
Searching through assets inside of an Eagle library is extremely fast and easy. I was always held back by the Windows Search in the past and can’t believe how much quicker the Eagle App is. You can always press CTRL + SHIFT + E to quickly start a search inside of your Eagle library. There are many more helpful shortcuts that the Eagle team has really put some thought into!
Eagle App Video Editing Workflow
Before I started using Eagle, I was often struggling with my folder structure as that was something that had to be set in stone in order for my video projects to work properly throughout the future. As soon as I was done with a project and started moving files around to reorganize them for example, I was no longer able to go back into my video editor and make changes as some of the media assets could no longer be found.
Luckily, this is something I will never have to worry about again as every single file you import into an Eagle library is saved inside of its own physical folder, which never changes, even if you move it to another folder inside of your library. Eagle simply changes the metadata for that file, which even allows you to put one file into multiple folders.
This is a huge time saver for me, as I no longer have to spend time meticulously organizing my files before starting a project. I can simply import them into Eagle and know that they will always be accessible, no matter what changes I make to my folder structure or tags down the line.
Eagle App Photo Editing Workflow
The Eagle App supports many different RAW file formats, which allows you to view your photos directly inside of Eagle. This is a huge time saver for me, as I can quickly go through all my images and pick out the best ones by giving them a rating from 1 to 5 ⭐. Later on, I can use the filter function, to only show the best images.
When I’m going through all the captured pictures with a client, I can add comments to specific areas on a photo, that need some work like retouching for example. Since my other team members are also using Eagle, I can just export all photos in the Eagle Pack file format, which includes all metadata, comments and tags.
This is really helpful, when I’m outsourcing some of my work as I don’t need to document everything separately. My team members can then just go ahead and import the Eagle Pack I exported previously and they will see all the comments I have made on the photos.
This is something you of course don’t have to do, if you’re working on a shared Eagle library, using a local network or cloud for example. It’s only necessary for separate libraries and is a fast way of sharing data with other Eagle users.
Eagle App Graphic Design Workflow
One thing I really learned to love here is the “show subfolder contents” function, which does exactly what it says. No more digging into every single folder, just view all your reference images at once.
A few years ago, I downloaded a huge library of icons and symbols that I incorporated into my own media library. I organized them in separate folders, which made things a little more structured inside of the Explorer.
This wasn’t enough though and it was always really time consuming to go through every single folder. Now, I can just view all subfolder contents at the same time and filter using tags, shape, file type, dimensions, size, etc. on top of that.
Oh, and did I mention that you can filter using colors? Yes, you can and Eagle adds all the necessary metadata for you automatically when you import a new file into your library. Absolutely one of my most favorite features!
Should you buy the Eagle App?
Overall, I am really impressed by the Eagle App and wish I found it earlier as that would have saved me a lot of time and headache already. The earlier you integrate Eagle in your day to day workflow, the more you can benefit from it.
Since I already had a huge library before I started using the Eagle App, I had to tag thousands of files after importing them into my new library for the first time. It was still worth the time and effort though, as I am now able to find everything a lot faster.
The Eagle App has really helped me streamline my work process and stay organized. I highly recommend it for anyone who needs to keep track of a lot of different assets and documents. If you’re struggling in the same areas as me, there’s a good chance that Eagle might help you out.
Comparing Eagle with other Digital Asset Management Tools
Before I switched over to the Eagle App, I was using Adobe Bridge. And although I really liked the concept of that software, it was unbearably slow, even with only a few images and videos. Since Adobe Bridge is free, you can go ahead and convince yourself, how much faster the Eagle App really is.
One thing I noticed with many other digital asset management tools like the Adobe Experience Manager for example is the fact that they are based on enterprise pricing models, which you often have to get a quote for first. Eagle is a one time payment, and that’s it. No complicated forms, no horrendous pricing models, easy like that.
I’ve been comparing different solutions over weeks and weeks and didn’t find anything that was as affordable, yet feature packed as the Eagle App. Oh, and I don’t even want to start with the user interface on some of those other solutions. The Eagle developers must have some high degree in UX/UI or something, that’s how good it is!
Public Roadmap, Changelog & Idea Board
Unfortunately, there’s no more public roadmap. I don’t exactly know why it was made private, but I guess it could have to do with competition. Perhaps they no longer want to share their ideas publicly with their competitors.
The Eagle team uses Trello and has a public roadmap, that you can view at any time. It shows how many features were already added in the past and what else is coming in the future.
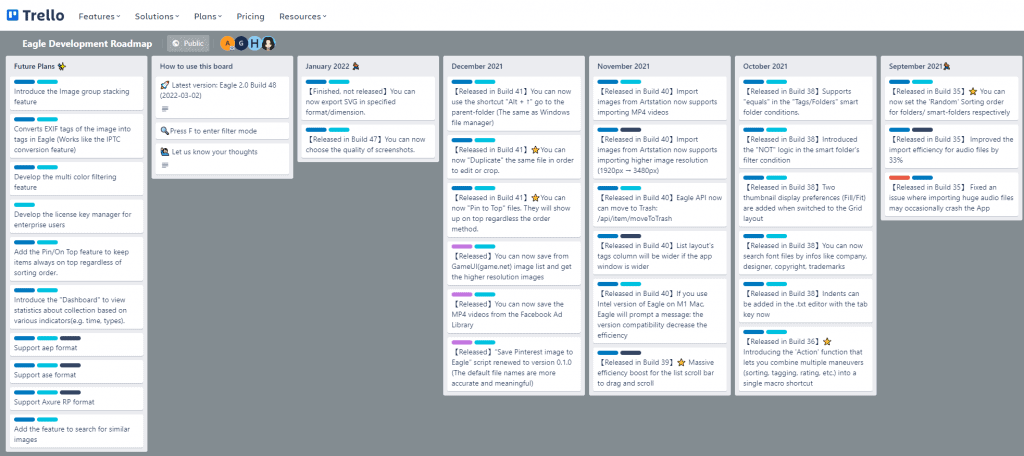
As far as I can tell, the team is really dedicated to its product and very fair towards its customers.
And if you’re worried about the future of Eagle and your media assets, let me quote the Eagle team:
What if Eagle doesn’t maintain in the future?*
— Eagle Team
Since Eagle is a local-based application, not a web-based service, contents you’ve collected are only stored in your local device, thus your collection won’t be impacted in the case that Eagle no longer maintains or the server is down.
What if Eagle team no longer maintains the product in the future? You can also rest assured of this. By then, Eagle team will make Eagle an Open Source software, passing the mission of development and maintenance on the Open Source Community’s hands, so your collection over years within Eagle library can be kept forever.
Knowledge Base & Documentation
Every single Eagle function is carefully documented inside of their knowledge base. There’s a lot that you can learn there to maximize your productivity with Eagle.
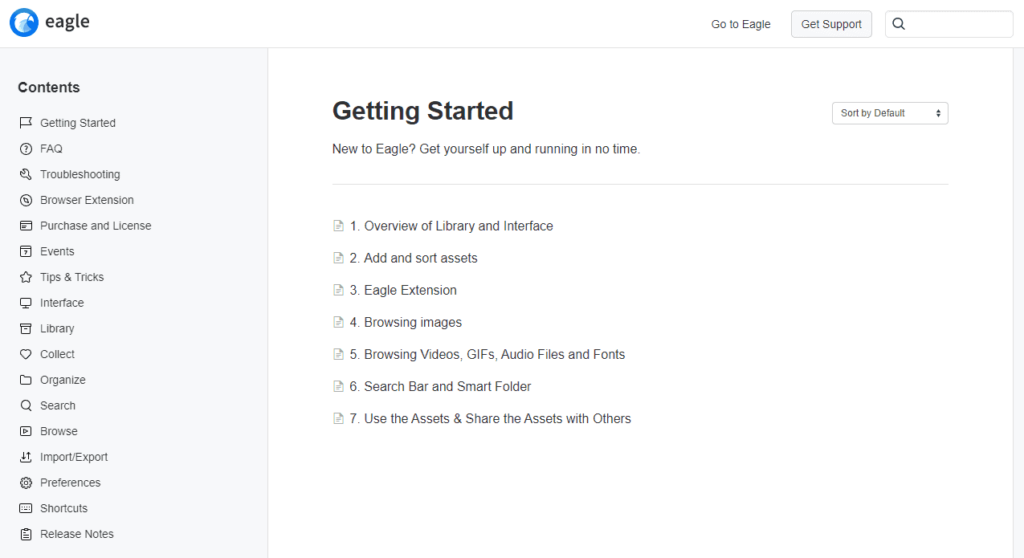
I wish more companies would put as much effort into their software help base as the Eagle team.
Download the Eagle App
It’s time to forget about Explorer and Finder – at least for the most part. The Eagle App is smarter, faster and better when it comes to organizing huge libraries of different files on Mac and Windows.
Before I go on and on here with more good reasons, why you should use this awesome piece of software, why don’t you just try it out yourself?
You can download the Eagle App on the official website over here at eagle.cool*. There’s a 30-day-free trial, which gives you full access to all features.
That should give you more than enough time to try everything out and see how it performs in comparison to other tools. Get started with Eagle today and see how much easier it is to stay organized!
*Affiliate Links


